Fryer fires are a major concern in restaurant kitchens. Did you know that 1 in 5 fryer fires happens because someone failed to clean properly? Plus, 61% of cooking fires start in equipment like gas fryers. Oil residue buildup plays a huge role in this. A quick 10-minute clean can make all the difference. Regular cleaning also keeps your kitchen safe and free from risks like commercial oven burnt stains.
Key Takeaways
- Clean your fryer often to stop dangerous fires. A fast 10-minute clean can protect lives and keep your kitchen safe.
- Ignoring fryer care can cause expensive damage and health issues. Spending a little time cleaning can avoid big troubles.
- Use proper tools and cleaners for good fryer cleaning. This helps your fryer work better and keeps food tasting good.
The Risks of Oil Residue in Commercial Deep Fryers
How Oil Residue Causes Fryer Fires
Oil residue in fryers isn’t just dirty—it’s risky. Grease and food bits stick to heating parts, forming a sticky layer. This layer blocks heat transfer, making the fryer overheat. Overheated grease hardens and becomes flammable, turning fryers into fire hazards.
Residue also messes with cooking temperatures. It spreads heat unevenly, causing food to cook poorly. Worse, old oil can release harmful chemicals, ruining food quality and safety.
Tip: Clean your fryer often to avoid these problems and keep it working well.
Financial and Safety Impacts of Neglecting Cleaning
Skipping fryer cleaning can cost you big time. Here are some real examples:
| Case Study Description | Cost Impact | Oversight Cost |
|---|---|---|
| A taco shop in Denver failed an inspection due to a dirty fryer filter. | Lost thousands in sales and paid fines | A $200 cleaning could have stopped this |
| A chef skipped hood cleaning, causing a grease fire that shut down the kitchen. | $10,000 in damages | $500 cleaning would have prevented it |
Not cleaning fryers risks more than money—it risks safety. Hot oil splashes can burn workers, especially when residue causes bubbling. Poor fryer care can also lead to carbon monoxide leaks if vents fail, putting everyone in danger.
The Importance of Quick and Regular Cleaning
Cleaning fryers often isn’t just about stopping fires—it makes kitchens safer and better. Removing grease lowers fire risks and improves air quality. Clean fryers also work better, saving time and energy.
Regular cleaning helps your reputation too. Customers notice bad-tasting food from old oil. A clean fryer means better food and happier diners.
Note: A 10-minute clean can make a big difference. It’s a small effort for long-term safety and savings.
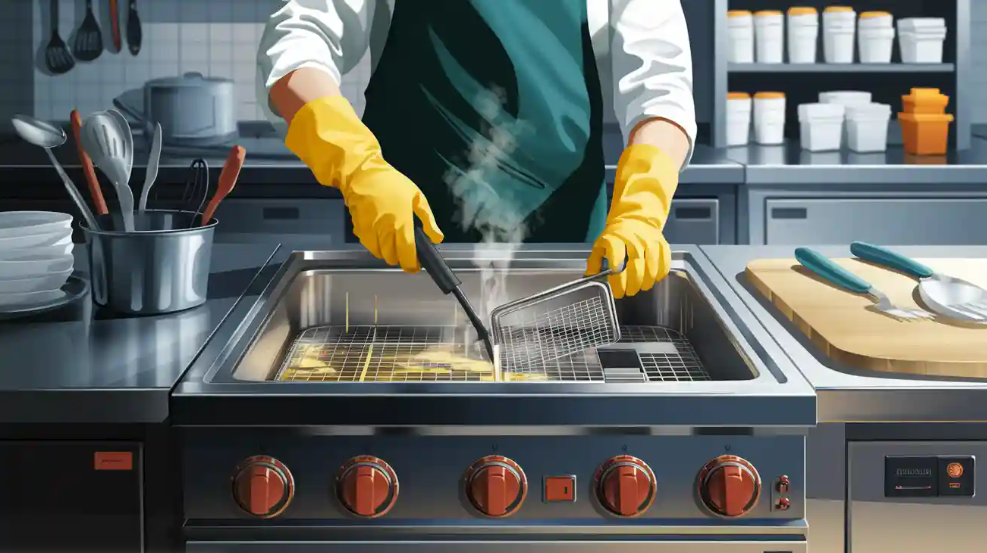
Step-by-Step Guide to Clean and Maintain Your Fryer in 10 Minutes
Essential Tools and Materials for Cleaning
Before you start cleaning your fryer, gather everything you’ll need. Having the right tools on hand makes the process faster and safer. Here’s a quick checklist:
- Heat-resistant gloves and safety goggles to protect yourself from burns and splashes.
- A sturdy scrub brush for scrubbing away stubborn grease.
- A high-quality degreasing solution designed for commercial fryers.
- Absorbent towels or sponges for wiping down surfaces.
- A container to safely drain and store used oil.
Using the right materials ensures you can clean a deep fryer effectively without damaging it. For tough grease, you can also try a baking soda paste or strong dishwasher soap. These options help break down oil residue and leave your fryer spotless.
Pro Tip: Always unplug the fryer and let it cool before cleaning. Safety first!
Preparing the Fryer for Safe Cleaning
Preparation is key to cleaning your fryer quickly and safely. Follow these steps to get started:
- Turn off and unplug the fryer. Let it cool completely to avoid burns.
- Drain the deep fryer oil into a container. Dispose of it properly or recycle it if possible.
- Scrape the sides and bottom of the fryer to remove food debris and hardened grease.
- Check the fryer’s vents and filters for clogs. Clean these areas to maintain proper airflow and prevent overheating.
By preparing your fryer this way, you reduce the risk of accidents and make the cleaning process smoother.
Reminder: Don’t overfill your fryer with oil during use. It can lead to spills and make cleaning harder later.
Applying Degreaser to Remove Oil Residue
Now it’s time to tackle the grease! A good degreaser is your best friend here. Spray or apply the degreaser directly onto the greasy surfaces of the fryer. Let it sit for a few minutes to break down the oil residue.
For stubborn spots, use a scrub brush to work the degreaser into the grease. Focus on areas like the heating elements and corners where oil tends to build up. If you’re using a commercial cleaner, follow the instructions on the label for the best results.
Using a strong degreaser not only removes oil residue but also helps maintain the flavor and quality of your fried foods. Clean fryers cook more evenly, giving you better results every time.
Did You Know? Regular cleaning with effective degreasers can prevent harmful chemicals from forming in old oil, keeping your food safe and delicious.
Rinsing, Drying, and Ensuring Safe Use
Once the grease is gone, rinse the fryer thoroughly with warm water. Make sure to remove all traces of the degreaser. Leftover cleaning solution can affect the taste of your food and damage the fryer over time.
After rinsing, dry all parts of the fryer completely. Use absorbent towels or let the fryer air dry. Moisture can cause oil to splatter when you start cooking again, so don’t skip this step.
Finally, reassemble the fryer and inspect it for any issues. Plug it back in and test it to ensure it’s working properly. A clean and well-maintained fryer is safer and more efficient, saving you time and money in the long run.
Quick Tip: Schedule regular inspections for your fryer to catch potential problems early. This keeps your kitchen running smoothly and safely.
Tips for Preventing Commercial Oven Burnt Stains and Grease Buildup
Setting Up a Daily Cleaning Routine
Clean your fryer and oven every day to keep them working well. First, turn off the fryer and let it cool completely. Pour the oil into a container for safe disposal or reuse. Use a fryer brush to remove stuck food bits from the fryer pot. Wash the inside with warm, soapy water to clean off grease. Rinse it well and dry everything to stop rust. Wipe the outside to keep your workspace neat.
For ovens, clean the inside after each shift with a microfiber cloth and gentle cleaning solutions. Empty crumb trays daily to stop grease buildup and lower fire risks. These easy steps take just a few minutes but help prevent stains and keep your equipment safe.
Quick Tip: Write down your cleaning schedule. Restaurants that do this often pass inspections and get better health scores.
Picking Good Degreasers for Best Results
Not all degreasers work the same. Choose ones that clean well without harming your equipment. Look for degreasers with strong dielectric strength to safely clean powered machines. Pick products that won’t damage plastic or rubber parts. Eco-friendly degreasers are also great for meeting rules and protecting the planet.
| Feature | Benefit |
|---|---|
| Dielectric strength | Cleans powered equipment safely without ruining insulation. |
| Plastic/rubber safe | Protects fryer and oven parts for longer use. |
| Low toxicity | Safer for workers and reduces health risks. |
| Environmentally friendly | Helps meet eco standards and supports green practices. |
Pro Tip: Use degreasers made for commercial kitchens to keep food tasting good and meet health rules.
Teaching Staff Proper Cleaning Methods
Your team is key to keeping fryers and ovens clean. Teach them to use soft scrubbers to remove grease and rinse cleaning products completely. Fun training tools can help staff learn faster and understand why cleaning matters.
| Training Benefit | Explanation |
|---|---|
| Tech tools in training | Real-time tools improve learning and staff feedback. |
| Better inspection results | Good cleaning leads to higher scores and fewer fines. |
| Long-term safety | Training prevents closures and keeps the kitchen safer. |
Reminder: Regular training helps your team clean better, lowering risks and saving time.
Planning Deep Cleaning Sessions
Daily cleaning is important, but deep cleaning removes tough grease and stains. Soak oven racks weekly in warm water with Cascade Platinum detergent for 30 minutes. Check door seals weekly to stop heat leaks and save energy. Replace door gaskets every 18 months to keep ovens efficient.
For fryers, plan monthly deep cleans to clear hardened grease from heating parts and corners. This keeps fryers safe and ensures food cooks evenly.
Did You Know? Deep cleaning lowers fire risks and extends equipment life, saving money over time.
Grease left in fryers can cause dangerous fires. Cleaning often helps prevent this. FEMA says 59% of restaurant fires start from cooking. Cleaning fryers and vents removes grease and lowers fire risks. A simple 10-minute cleaning keeps fryers safe and kitchens running smoothly.
FAQ
How often should you clean your fryer?
You should clean your fryer daily to remove food debris and grease. For deep cleaning, schedule it monthly to tackle hardened residue and hidden buildup.
Tip: Consistency is key! A clean fryer lasts longer and cooks better.
Can you reuse fryer oil after cleaning?
Yes, but only if the oil is still fresh. Strain it through a fine mesh or filter to remove food particles before reusing.
- Signs to discard oil:
- Dark color
- Rancid smell
- Excessive smoking
What’s the best degreaser for fryers?
Choose a commercial-grade degreaser that’s food-safe and eco-friendly. Look for one with strong grease-cutting power but gentle on fryer components like rubber seals.
Pro Tip: ShengLang Kitchen offers high-quality cleaning solutions tailored for commercial kitchens.